Are your gearbox housing projects plagued by defects and delays? An unoptimized process drains resources and threatens deadlines, causing major headaches for your entire team.
To optimize gearbox housing die casting, you must focus on four key areas. Start with a robust mold design, select the right aluminum alloy, fine-tune critical process parameters, and implement strict quality control from start to finish. This integrated approach is essential for success.
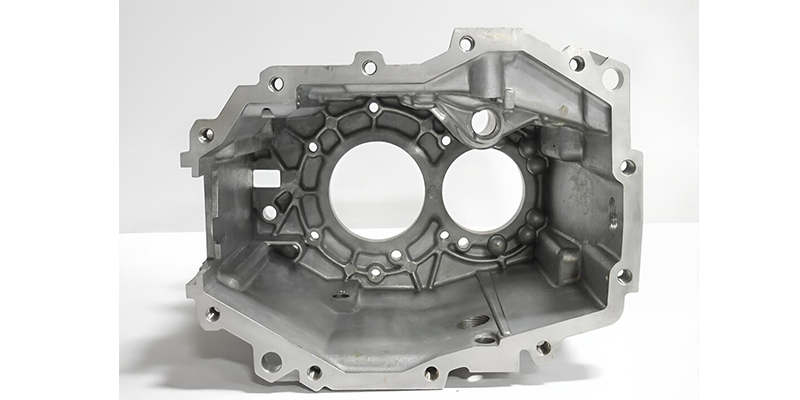
As an engineer with over twenty years in die casting, I have seen many gearbox housing projects succeed or fail based on the work done upfront. A gearbox housing is not a simple part. It has complex geometry1, requires high strength, and often needs to be perfectly sealed. You cannot fix a bad design with a good process, and you cannot salvage a good design with a sloppy process. The entire chain, from the initial DFM analysis2 to the final inspection, must work together. Let me walk you through the critical steps my team and I follow to ensure we deliver high-quality gearbox housings on time.
What are the Core Mold Design Principles for a Gearbox Housing?
Does your mold design lead to inconsistent parts? Complex gearbox housings demand precision, and a flawed design is the root cause of many production headaches and part failures.
The core principles are a balanced gating system to ensure uniform metal flow, targeted cooling channels for controlled solidification, and effective vents to let trapped gases escape. Proper draft angles and sliders for undercuts are also critical to prevent defects during part ejection.
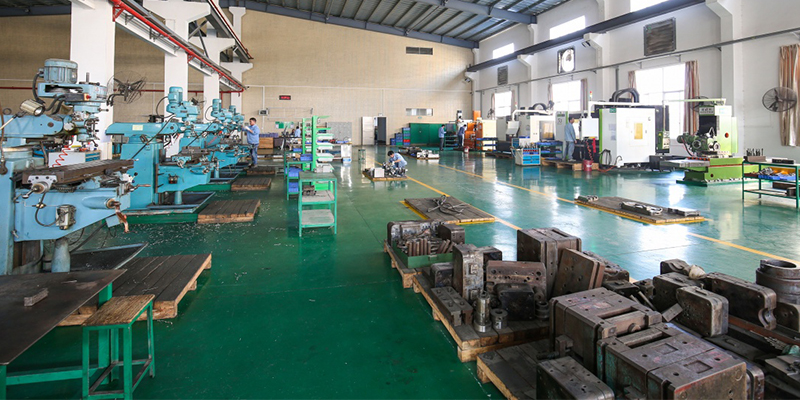
I remember working on a complex housing for a German Tier 1 automotive supplier. The design had a mix of very thin walls and thick bosses where bolts would be attached. This is a classic challenge. If the molten aluminum cools too quickly in the thin sections, it can cause flow marks or misruns. If it cools too slowly in the thick sections, you get shrinkage porosity3. My team used mold flow simulation software to model the entire injection process. We designed a multi-gate system4 to fill the cavity evenly and quickly. We also placed dedicated cooling lines directly around the thick bosses to pull heat out faster. This early simulation and design work saved us weeks of trial-and-error on the shop floor and ensured the final parts were solid and defect-free.
Key Mold Design Elements
| Element | Purpose | Impact if Done Incorrectly |
|---|---|---|
| Gating System | Controls how molten metal enters the cavity. | Turbulence, air entrapment, cold shuts. |
| Cooling Channels | Regulate mold temperature and solidification. | Shrinkage porosity, warping, long cycles. |
| Venting & Vacuum | Allows trapped air and gas to escape. | Gas porosity, blisters, incomplete filling. |
| Ejection System | Pushes the finished part out of the mold. | Ejector pin marks, part deformation, cracks. |
How does Material Selection Impact Die Casting Performance?
Choosing the wrong alloy can completely ruin your project. It leads to parts that crack under stress or fail in the field, forcing costly recalls and damaging your company’s reputation.
The aluminum alloy you choose directly affects the part’s mechanical strength, thermal conductivity, pressure tightness, and machinability. Alloys like A380 are a great all-around choice, while others like AlSi9Cu3 offer better fluidity for intricate designs or higher strength.
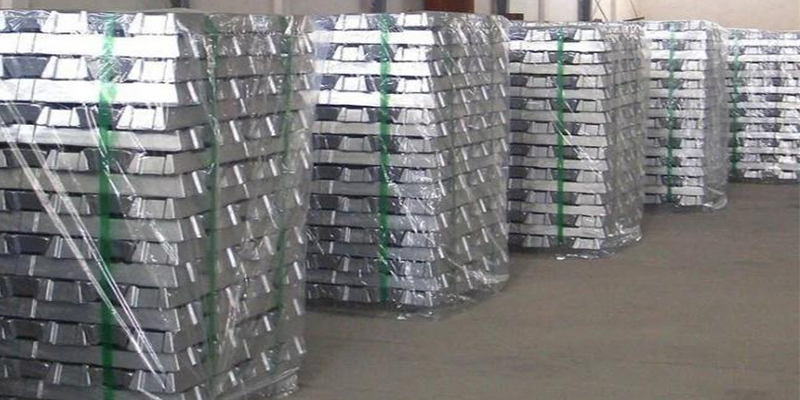
My team once consulted for a U.S. client developing an EV transaxle housing. The initial specification called for ADC12, a common and cost-effective alloy. However, the housing had very strict airtightness requirements and also needed to dissipate a lot of heat. I was concerned that standard ADC12 might not be consistent enough to prevent porosity leaks. We proposed a switch to a high-purity AlSi9Cu3 alloy. While slightly more expensive, this material has excellent fluidity to fill complex sections and a finer grain structure, which helps ensure pressure tightness. We provided data from past projects to back up our recommendation. The customer agreed to run a trial. The parts made with AlSi9Cu3 passed the leak tests at a much higher rate, which ultimately saved them money by reducing scrap and rework.
Common Aluminum Alloy Comparison
| Alloy | Key Feature | Best For |
|---|---|---|
| A380 | Good balance of properties and castability. | General-purpose housings, structural parts. |
| ADC12 | Excellent castability and cost-effective. | Complex shapes, non-critical components. |
| AlSi9Cu3 (EN AC-46000) | Great pressure tightness and good strength. | Gearboxes, hydraulic components, motor housings. |
How do you Optimize Process Parameters for Die Casting Efficiency?
Are your cycle times too long and your defect rates too high? Uncontrolled process parameters waste time and money, making it impossible to meet your production targets on schedule.
To optimize efficiency, you must meticulously control injection speed, injection pressure, and mold temperature. These three parameters form a delicate balance. A stable and repeatable process window is the only way to produce consistent, high-quality parts with minimal scrap.
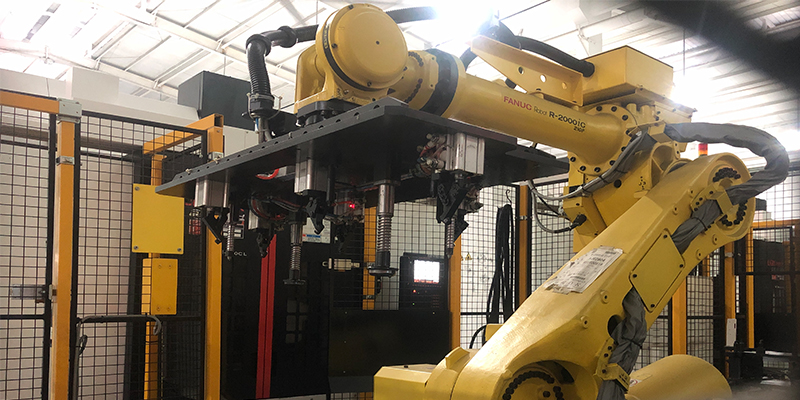
During a high-volume project for an Italian supplier, we were under immense pressure to increase our daily output. The temptation was to speed up the cycle time by lowering the die cooling time. However, this caused warping in the parts. Instead, my team focused on creating a highly stable process. We used sensors in the mold to monitor the temperature in real-time. We also set up a shot monitoring system5 to track the plunger speed and pressure curves for every single casting. By analyzing this data, we found the ideal parameters that produced a good part every time. We locked in this process window. This consistency allowed us to run the machine smoothly with fewer interruptions, which increased our net output of good parts by over 10% without sacrificing quality.
Key Process Parameters
| Parameter | Low Setting Effect | High Setting Effect |
|---|---|---|
| Injection Speed | Risk of cold shuts, flow marks. | Risk of turbulence, gas entrapment. |
| Injection Pressure | Risk of shrinkage porosity, low density. | Risk of mold flash, dimensional issues. |
| Mold Temperature | Risk of misruns, poor surface finish. | Risk of part sticking, long cycle times. |
What are the Best Strategies for Quality Control and Defect Mitigation?
Are defects like porosity and cracks appearing in your final parts? These issues can scrap entire batches, leading to missed shipments and frustrated customers who start looking elsewhere.
The best strategy combines prevention with detection. Prevent defects with detailed DFM and mold flow analysis. During production, use real-time process monitoring. After casting, confirm quality with tools like X-ray for internal soundness and CMM for dimensional accuracy. It is a total system.
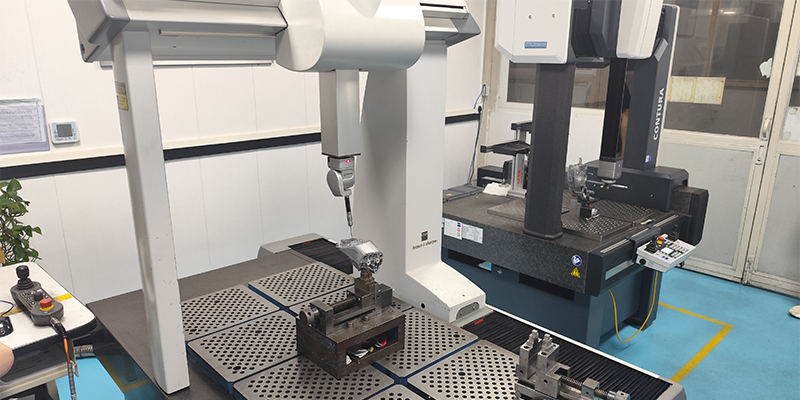
A supplier quality engineer from a global Tier 1 company once visited our facility. He was concerned about potential porosity deep inside a gearbox housing we were producing for them. The part had oil channels running through it, and any leak would be catastrophic. To give him and his team full confidence, we built a multi-layered quality plan. First, we used vacuum-assisted casting6 to minimize gas entering the mold. Second, we used our shot monitoring system to ensure every part was made under the exact same conditions. Finally, we implemented a 100% inspection protocol. Every single housing went through a pressure decay leak test7 and a sample from each shift was X-rayed. This rigorous process guaranteed that no defective parts left our factory. It built tremendous trust with the customer.
Common Defects and Mitigation
| Defect | Primary Cause | Mitigation Strategy |
|---|---|---|
| Gas Porosity | Trapped air or gas from lubricant. | Improve mold venting, use vacuum assist, optimize injection speed. |
| Shrinkage Porosity | Uneven cooling of thick sections. | Add cooling channels, adjust gating, modify part design. |
| Cracks | High stress during cooling or ejection. | Optimize ejection system, add fillets, adjust alloy composition. |
| Misruns/Cold Shuts | Molten metal cools too fast. | Increase mold/metal temp, increase injection speed, check venting. |
Conclusion
Mastering gearbox housing die castin requires a holistic focus on mold design8, material choice, process control, and strict quality checks. This integrated approach ensures the efficient production of reliable parts.
-
Explore the challenges and solutions related to complex geometry in die casting design. ↩
-
Discover how Design for Manufacturing (DFM) analysis can improve die casting processes. ↩
-
This resource explains the causes of shrinkage porosity and how to mitigate it effectively. ↩
-
Explore the benefits of using a multi-gate system for improved metal flow in die casting. ↩
-
Learn how shot monitoring systems enhance process control and part quality in die casting. ↩
-
Explore the advantages of vacuum-assisted casting for reducing defects in die casting. ↩
-
Understand the importance of pressure decay leak tests for ensuring airtightness in die cast parts. ↩
-
Understanding mold design is crucial for producing high-quality die cast parts; this link provides valuable insights. ↩


