Are you concerned about hidden defects in your aluminum castings? Unseen flaws can lead to field failures, expensive recalls, and significant project delays.
Checking the quality of an aluminium casting needs many steps. It starts with visual checks and precise measurements. Then, special scans look inside the part. Parts with seals also get tested for leaks. Finally, material tests confirm strength. These steps make sure every casting is reliable.
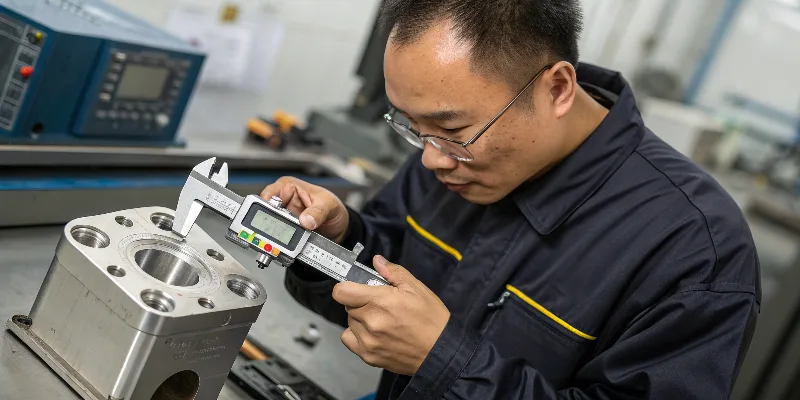
For critical parts, every detail matters. Missing even one small flaw can have big consequences, especially in automotive and EV components. My career has shown me that quality control1 is more than just finding problems. It is about preventing them and ensuring peak performance. Let us go through each step in our detailed process. We will see how these methods work together to make sure every casting meets the highest standards.
What are the standard inspection methods for aluminium castings?
Do you know if your supplier’s checks cover all possible issues? If one check is missed, a bad part might get through, causing serious problems later.
Standard inspection methods check surface, internal, and material properties. These include visual checks and precise measurements. Non-destructive tests like X-ray and CT scans look inside. Pressure testing checks for leaks. Finally, material and mechanical tests confirm strength and durability.
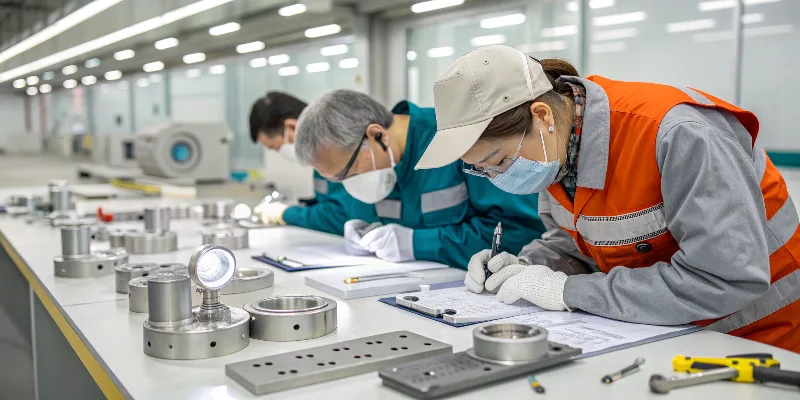
In the early part of my career, I spent a lot of time on the workshop floor. I learned that you cannot rely on just one or two ways to check a part. As parts became more complex, especially for new energy vehicles2, simple hand tools were not enough. We now use a layered approach. Each method gives us different information about the part. For example, you cannot see internal air pockets with your eyes. An X-ray or CT scan can. A dimensional check will not tell you if the metal alloy is correct. A metallurgical test will. This full system is important for our customers. They need proof that every key detail is met. This builds trust and makes sure the final product is safe to use.
The Multi-Layered Approach
We start with the basics. Visual checks catch big problems on the surface. Dimensional checks use precise tools to make sure the part is the right size and shape. Next, we use advanced methods for things we cannot see. X-ray and CT scans3 reveal inside flaws like hidden air bubbles or cracks. For parts that need to hold liquids or gases, we do pressure and leak tests4. Finally, metallurgical and mechanical tests5 check the material itself. We make sure it is strong enough and built correctly. This complete method helps us find every possible issue. It ensures the casting is perfect, inside and out.
How do visual and dimensional checks help detect defects?
Are your castings failing because of small surface flaws or wrong sizes? These minor issues can stop parts from fitting together and cause big performance problems.
Visual checks find surface flaws like cracks or incomplete fills. Dimensional checks, often using precise machines, make sure the part’s size and shape are exact. They ensure the casting matches design plans perfectly.
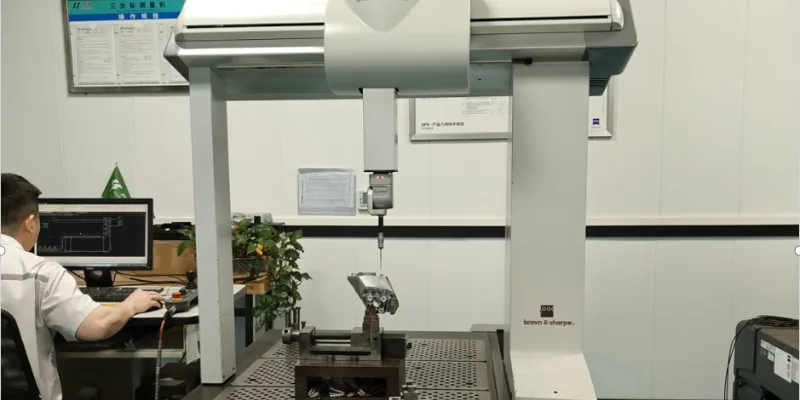
Visual and dimensional checks6 are the first steps in finding problems. We think these checks are very important. If a part does not look right or does not fit correctly, then its material strength does not matter.
Important First Checks
I always tell my team that a trained eye is one of our best tools. An experienced inspector can see small signs of trouble. These include flow lines that show uneven filling or color changes that mean a heat treatment problem. This first check quickly removes parts with clear surface issues.
But a human eye cannot measure sizes in very small units. That is where a Coordinate Measuring Machine (CMM) comes in. I remember a job with a customer from Germany. The part was an inverter housing. The flat surface where a seal went was very important. The CMM report showed a small difference. It was almost impossible to see with the eye. This small difference would have caused a leak. We changed how we made the part and fixed the issue before large-scale production. The CMM gives us exact numbers. It confirms the part meets the design needs.
What role does x-ray and CT scanning play in quality control?
Are you worried about unseen flaws inside your castings? Internal problems like air pockets are invisible from the outside. But they can cause parts to break completely, especially in high-stress automotive parts.
X-ray and CT scanning are safe ways to see inside a casting. They show defects like gas bubbles, empty spaces from shrinking, cracks, and trapped dirt. These flaws are not visible from the outside.
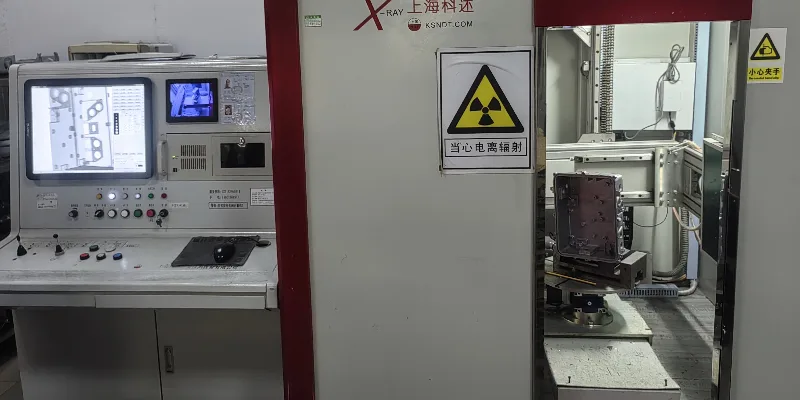
For very important parts, looking inside the casting is a must. For parts like motor housings or support frames, what you cannot see can harm the part. This is why X-ray and Computed Tomography (CT) scanning are so important. I have seen parts that look perfect on the outside fail pressure tests. This was because of hidden air pockets that could not be seen.
X-Ray vs. CT Scan
Think of a normal X-ray like a flat picture. It shows you a 2D image of the inside. It reveals air pockets or dirt, and where they are generally located. This method is fast. It is good for checking a few parts from each batch. This makes sure our die-casting process stays stable.
CT scanning goes further. It creates a full 3D model of the part, inside and out. This gives us many details. We can see the exact size, shape, and spread of air bubbles. For a complex job with a supplier from Italy, we used a CT scan for initial parts. The scan showed very tiny air pockets near a key mounting point. With this data, we improved the design in the mold. This removed the issue before full production started. This level of detail is very useful early in a project.
How can pressure and leak testing ensure sealing reliability?
Does your product need a perfect seal? For parts that hold fluids or protect electronics, like battery cases, even a tiny leak can cause the whole system to fail.
Pressure and leak testing confirm a casting can hold a seal. Air or helium is put into the part. Then, it is put into water or checked with a sensor. This quickly shows any leaks or weak spots.
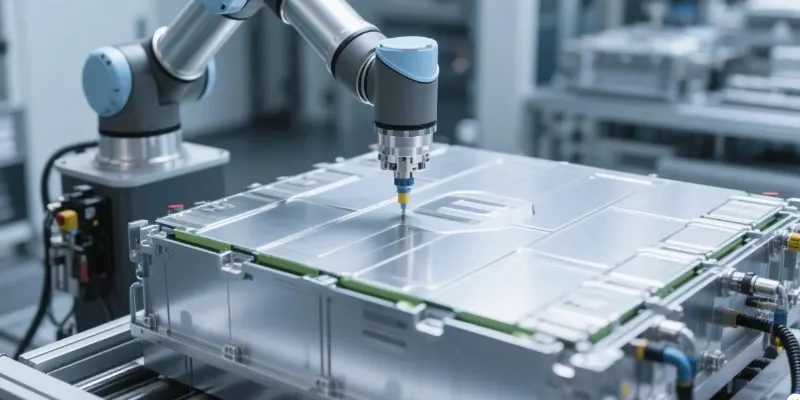
For many of the new energy vehicle parts we make, being airtight is not just a feature. It is a critical safety need. Think about battery cases, motor housings, or inverter covers. They must protect sensitive electronics and high-voltage systems from water and dirt. A bad seal can cause rust, short circuits, and dangerous failures. This is why every single part that needs a seal goes through a leak test before it leaves our factory.
I worked on a project for an On-Board Charger (OBC) housing. The customer needed a very low leak rate. We built a special test setup using a very sensitive sensor. Early in production, some parts failed the test. The leak was too small to see. By comparing the failed parts with our X-ray data, we found the problem. It was a small-area of tiny air pockets. This let us make a specific change to the mold’s cooling paths. This fixed the problem. It also made sure we could meet the customer’s strict needs every time. This shows how using different checks helps us solve hard quality problems.
Why is metallurgical and mechanical testing important for castings?
Is your casting strong enough for real-world use? If the metal’s structure or hardness is wrong, the part can break or bend easily. This puts safety and long life at risk.
Metallurgical testing looks at the metal’s properties up close. It checks the material mix, crystal structure, and hardness. This makes sure the metal meets the strength and performance needs of the design.
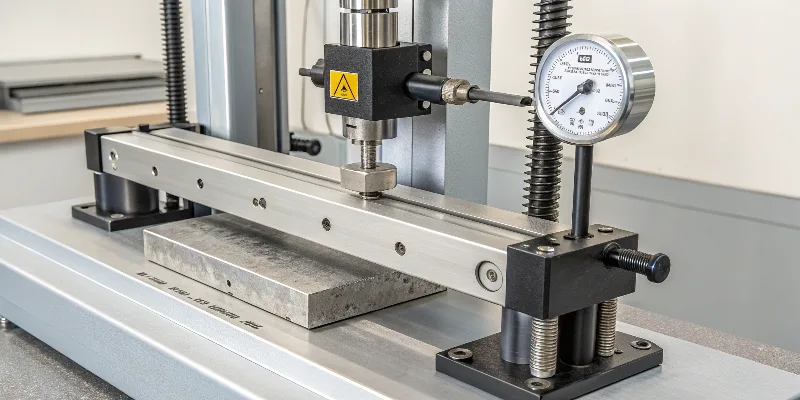
A good casting is more than just its shape. It is also about the material it is made from. You can have a part that is the perfect size but still fails. This happens if the aluminum alloy7 itself is not correct. Metallurgical analysis is how we confirm the material is exactly what it should be. This is very important after heat treatments. These treatments make the metal stronger.
What We Look For
Our tests usually check three things:
- Material Mix: We use a tool to check that the mix of elements in the aluminum alloy is right. It must match the needed standard. For example, A380 or ADC12. The wrong mix of elements can change how the material acts.
- Inside Structure: We cut a piece from a sample part. We then make it smooth and look at it under a microscope. We look for tiny, even crystal structures. Big crystal structures or bad parts can mean a problem with how the casting was made or treated. This leads to less strength.
- Hardness and Strength: A simple hardness test gives us a fast way to know the material’s strength. It also tells us if the heat treatment worked. We also do tensile tests8. This pulls on the material until it breaks. This tells us how strong the material is and how much it can stretch. These tests make sure the part will work through its whole life.
How do OEMs and Tier suppliers define quality acceptance?
Do you and your supplier agree on what a “good” part is? Without clear rules, arguments can start. This leads to slow work and uneven quality.
OEMs and top suppliers set acceptance rules using detailed drawings and 3D models. These rules list exact sizes, surface finishes, acceptable internal flaws, and test needs. They cover details like leak rates and material strengths.
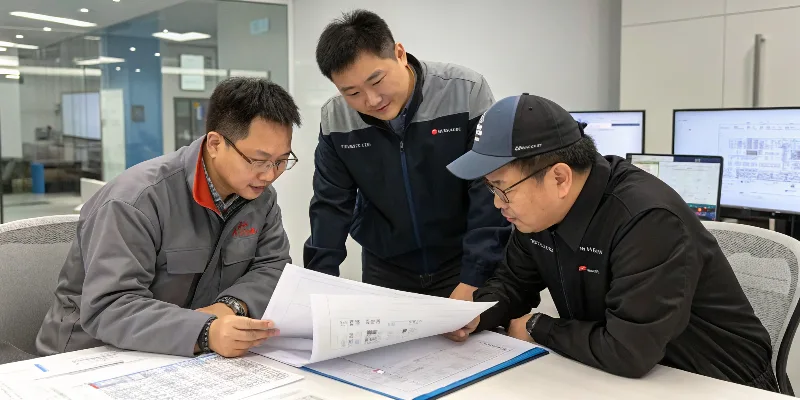
Deciding what is “good” and “not good” is one of the most important first steps for any new product. This cannot be just someone’s idea. Good working relationships between suppliers and customers need clear, agreed-upon rules. At EMP Tech, we work closely with our customers. They are often major automotive suppliers. We set these rules at the very start of a project.
This process usually includes:
- Finding Key Features: We look at drawings and 3D models with the customer. We find the most important parts. These parts have the tightest limits. They are most important for the part to work correctly.
- Using Standard Rules: For inside flaws, we do not guess. We use known industry rules. For example, ASTM E505 for X-ray images of aluminum castings. This means we can say, “Level 2 air pockets are fine here, but Level 3 or higher is not.” This takes out all guesswork.
- Making Example Parts: This is one of the best tools I know. We make “limit parts.” These are parts that show what is the very best acceptable. And what is the very worst acceptable. For example, a part showing the most extra material allowed. Or the worst surface mark allowed. These parts become our guide for checking quality in the factory. This connection makes sure we make parts that meet our standards, and our customers’ needs, every time.
Conclusion
A strong, multi-step checking system is the only way to confirm aluminum casting quality. It blends visual, size, inner, and material checks. This ensures every part is dependable and safe.
- Explore effective quality control practices that can help prevent defects in aluminum castings. ↩
- Learn about the unique quality control challenges and standards for new energy vehicle components. ↩
- Find out how X-ray and CT scans can reveal hidden defects in castings that are not visible externally. ↩
- Explore various methods for leak testing to ensure that castings maintain a perfect seal. ↩
- Discover the different mechanical tests that ensure the strength and durability of aluminum castings. ↩
- Discover the importance of dimensional checks in ensuring parts meet design specifications. ↩
- Learn about the various aluminum alloys and their specific applications in casting. ↩
- Explore the significance of tensile tests in assessing the strength and durability of castings. ↩


